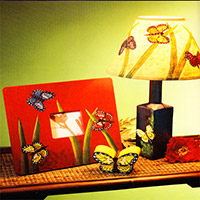
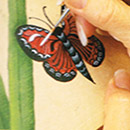
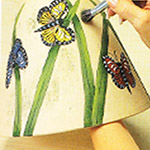
 Butterfly lamp shade
You will need:
- Lamp shades
- All purpose sealer
- Tracing paper pencils, scissors, white graphite paper
- Gray graphite paper
- Double ended stylus
- Varnish
- No1 Jackie Shaw liner brush
- No6 filbert brush
- 10 mm angular brush
- 12 mm angular brush
- 12 mm stippling brush
Method:
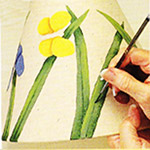
1. Brush sealer on the inside of the lamp shade to prevent the paint from blending through. When dry roll the shade across the large sheet of tracing paper, marking the top and bottom. This will create a pattern of correct size.
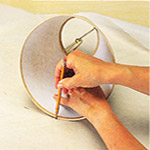
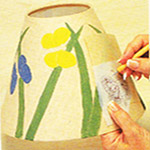
2. Cut the tracing paper out and copy the crush and butterfly images in a pleasing arrangement. The warp the pattern around the shade and tape it in the back. Transfer the pattern with gray graphite paper, using a stylus. Trace only the outline of the wings, not the details.
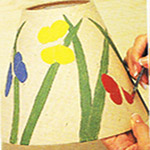
3. With a no.6 filbert brush, base coat the grass with chrome green light.

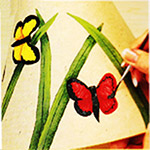
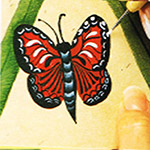
4. Use the same brush to base coat the wings of the butterflies. Use Moroccan red, butter yellow and liberty blue. Leave a small gaps between the wings,to show that they overlap.
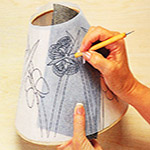
5. Take the detailed pattern of the butterfly and transfer the details of the wings with graphite paper and a stylus. Use white graphite paper on the darker wings and gray graphite paper on the lighter wings.
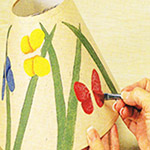
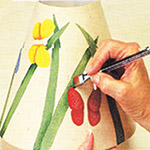
6. Using a 10mm angular brush, shade under the top wings on the lower wings. Shade the blue butterfly with opaque blue. Shade the yellow butterfly with raw sienna. Shade the red butterfly with barn red. When the wings are dry, use the same colors to float color along the wings next to the body.
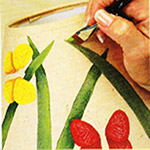
7. With the 12 mm angular brush, float a shade of dark jungle green along the leaves where they overlap each other and where the butterflies overlap them.
8. With the same angular brush, highlight the leaves in leaf green, mostly toward the tip ends. Use the chisel edge of the brush, and start at the point of the leaf.
9. Add leaf veins with no1 Jackie Shaw liner brush in dark jungle green.
10. Base coat the bodies and the outer edges of the wings in black using the same liner brush.
11. Using your liner brush, place all the black lines on the wings.
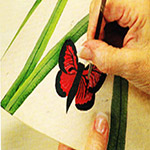
12. Side load the 10 mm angular brush with white and create the segments on the body.
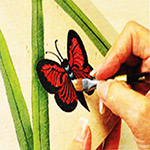
13. Load the no1. Jackie Shaw liner brush with white and add all the white details with comma strokes.
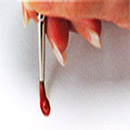
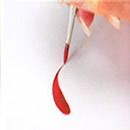
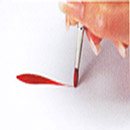
Comma Strokes
14. Using the large ends of the double ended stylus add white dots near the body and on the wings. Slide the stylus a bit to make the elongated dots.
15. With a 12 mm stippling brush, apply some chrome green light around the grass to complete the lampshade. To protect your lampshade, brush on a few coats of varnish. Allow to dry thoroughly between coats.
Back to Crafts Main | Decoration Ideas | Autum Themed Decoration Ideas
 Ram Navami
 Passover
 Good Morning