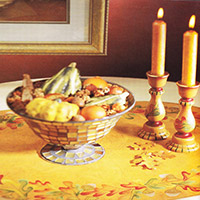
Fall Leaves Table Runner
You will need:
- Canvas table runner
- delta renaissance foil system
- 76 mm foam craft roller
- glazing medium
- plastic grocery bag
- tracing paper
- pencils
- white graphite paper
- stylus
- varnish
- 1 Jackie Shaw liner brush
- round brush (no 5)
- 6 mm old worn brush
- 10 mm angular brush
- 12 mm angular brush
- 19 mm glaze/wash brush
Method:
1. Using a 76 mm foam craft roller, base coat the canvas surface with golden brown. Once the paint is completely dry, makes a glaze of two parts, glazing medium with one part Georgia clay. Brush these glaze in workable size areas with a 19 mm wash/ glaze brush.
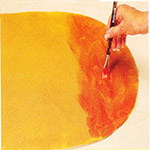
2. Cover your hands with a plastic grocery bag, and place the bag over the glazed area. Without moving the bag, just with your hand press down, and then gently lift the bag. The more crumpled the bag, the more texture you will get. Brush on more glaze overlapping when needed and repeat the texturing process over the entire surface. Allow the surface to dry well.

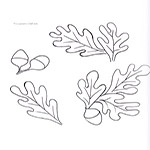
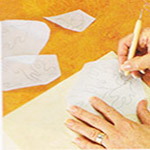
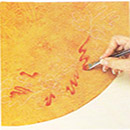
3. Use white graphite paper and stylus to stress on your leaf and acorn pattern in an attractive grouping .
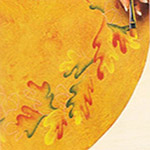
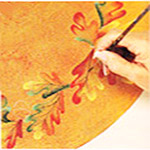
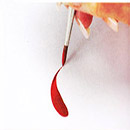
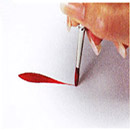
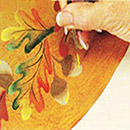
4. Begin painting the leaves with a 12 mm angular brush with Moroccan red. Make C strokes to randomly shade some of the leaves.
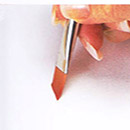

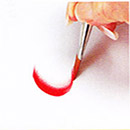
C-strokes
5. Make the same random strokes on the leaves with dark jungle green.
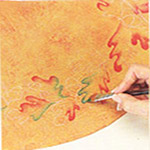
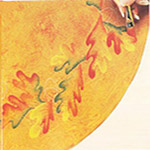
6. Paint additional; C strokes with antique gold. Overlap the strokes of different colors slightly for a flawless blending and more natural looking coloration.
7. Finally add C strokes Georgia clay, again overlapping the strokes to blend the colors. Since these colors are all placed in random orders, any leaf could have 2, 3 or 4 colors. You can decide on that.
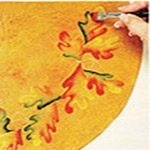
8. To deepens leaf colors add small touches of darker colors towards the base of each leaf. Add gamal green to dark jungle green areas. Add barn red to Moroccan red areas. Do no cover all the red and green areas, just those at the leaf base.
9. To highlight the leaf colors, add touches of lighter tones to the tips of the leaves. Add light foliage green to dark the jungle green areas. Add butter yellow to antique gold areas.
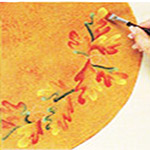
10. Load a no.1 Jackie Shaw liner brush with gamal green and pull vein lines on all leaves.
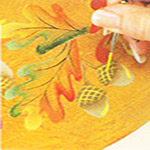
11. Base coat the acorns with a no.5 round brush. Use spice brown for the caps and and trail tan for the bottoms.

12. Side load 10mm angular brush and float spice brown just below the caps on top of the trail tan part of each acorn. Using a no.1 Jackie Shaw liner brush and butter yellow add a small comma stroke to the lower right side of each acorn.
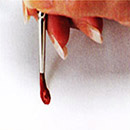
Comma Strokes
13. With the small liner and antique gold add short highlight strokes to the acorn stems and cross hatching on the caps. Go back over the center of cross hatching with butter yellow to brighten them.
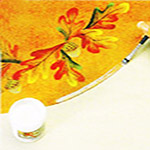
14. With a 6 mm old worn brush, apply a glue border with foil adhesive. When the adhesive has lost its “milky” appearance and is dry, add a second coat and allow to dry until clear.
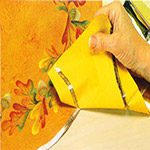
15. With the dull side facing down, lay a foil piece over the glue and rub vigorously with your finger. Remove the excess foil. Place it on another section of adhesive and repeat. If you find that you have missed an area of foil, re apply glue in that area and allow it to dry before reapplying the foil sheet. When done, apply varnish to the entire piece, including the back of the canvas to take away remaining stickiness from the spray adhesive.
Back to Crafts Main | Decoration Ideas | Autum Themed Decoration Ideas
 Ram Navami
 Passover
 Good Morning