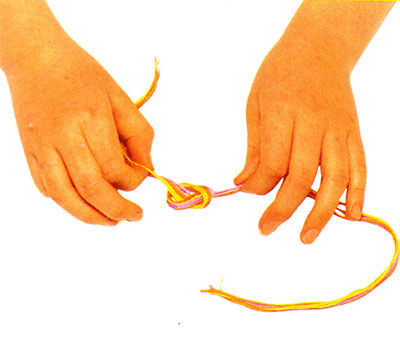
 1. Cut the threads to the required length. Check that you are using the right type of thread and have the correct number of threads in each colour. Gather the threads and line up the ends. Tie the threads together with a knot near one end. Each project will tell you exactly where to tie the knot.
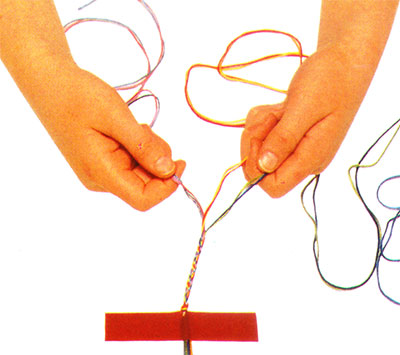 2. Secure the threads to your work surface using a piece of electrical tape just above the knot. Press the tape firmly over the threads to that the threads do not come lose. A breadboard, laminated tray or piece of stiff card make excellent portable surfaces on which to do your braiding.
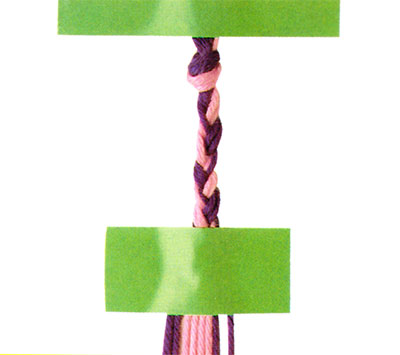 3. Some projects will then ask you to plait a 5cm (2in) length before you start braiding. Try to keep an even pressure on the threads when plaiting so that it remains straight. Secure that end of the plaited section to your work surface with electrical tape. Press the tape firmly over the plait.
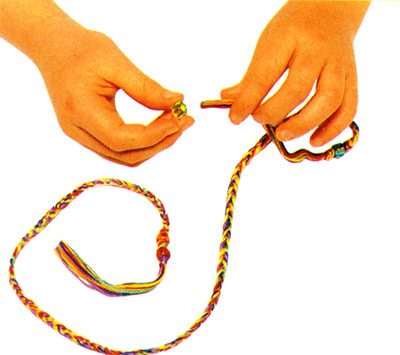
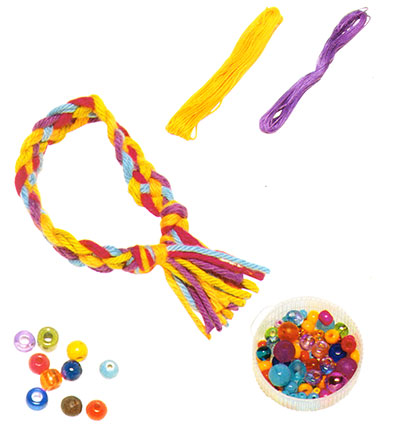
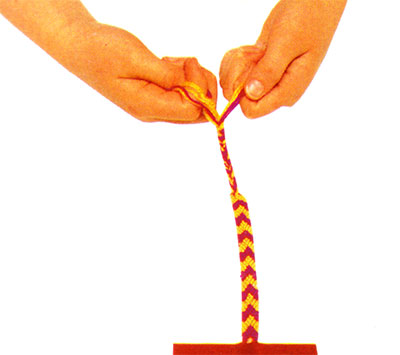 To finish a bracelet – divide the threads at the end of the braid into three even groups and plait together. This plait should be the same length as the one at the other end of the bracelet. Tie a knot at the end of the plait before threading on beads. Keep the beads in place with another tight knot. Trim the threads.
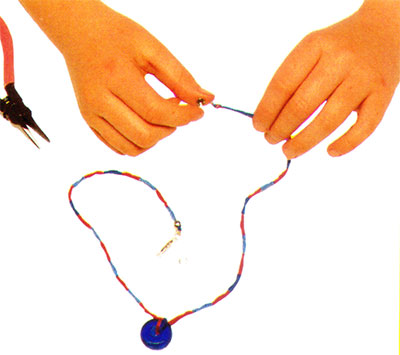 To finish a necklace – tie a tight knot at the end of the braid. Use pliers to close a jewellery clamp over the knots at both ends of the braid. Open the metal rings using pliers and attach a metal ring to each clamp. Separate the sections of the jewellery fastener and attach one section to each ring. Close the rings.
 To finish a headband – tie a tight knot close to the end of the braid and thread beads on. You can thread beads on to each thread or use a large bead through which all the threads will pass. To hold the beads in place, tie another knot. The knot must be large enough to stop the bead falling off.
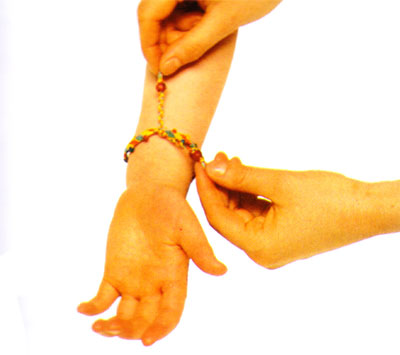 Tying on a bracelet – ask a friend to help tie a double knot. If there is no one around to help, you could tie the bracelet around your ankle instead.
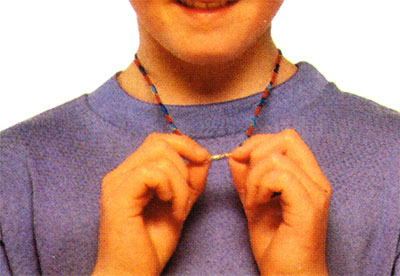 Fastening a necklace – place the necklace around your neck with the opened fasteners at the front. To line up the clasps, look in a mirror.
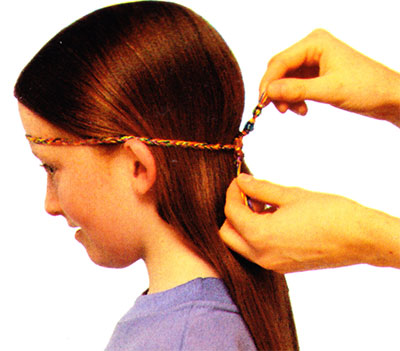 Tying on a headband – if you cannot do it yourself, ask a friend to tie the ends in a double knot or in a bow at the back of your head.
The first thing you must do before starting a friendship bracelet design is to carefully read through the instructions and look at the photographs. The second thing to do is make sure you have the right thread and have carefully measured out the lengths needed. Double-check that you have the right number of threads in the right colours.
If you are doing a complicated design it can help to use the same coloured threads as used in the project. Then, when you have mastered that braiding technique, you can go on to make the bracelet, necklace or anklet using your own wonderful colour combinations.
To give your bracelets the professional look, try to keep the tension on the threads even. An uneven tension will make the brace twist and buckle.
The colours and beading ideas used in these projects are just to get you started. There is really no end to the sorts of things you can do to take your friendship bracelets totally unique. Here are some ideas that you might like to try.
Looking for Something? Search Google :
 Friendship Day
 Good Morning