This bracelet is inspired by the colours you would see on an African safari. So when choosing your threads, look out for brown, ochre and yellow. You could choose your own theme, such as a rainbow, a sunset or a season, and select colours to co-ordinate with that theme.
 Scissors
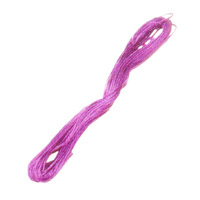 Stranded embroidery thread
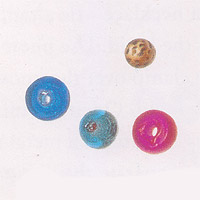 Large Decorative Beads
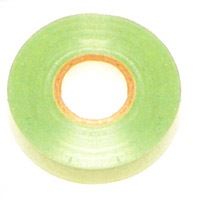 Electrical Tape
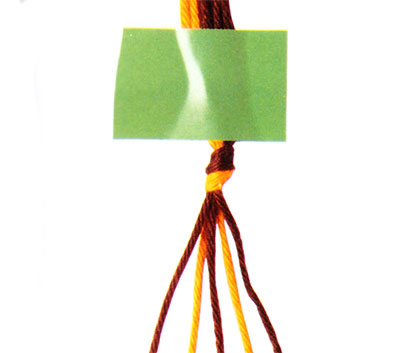 1. Cut three threads of one colour and two of another, each 100cm (40in) long. Tie the threads in a knot, 15cm (6in) from the top. Fasten the threads to the work surface with tape just above the knot. Lay out the threads, as shown.
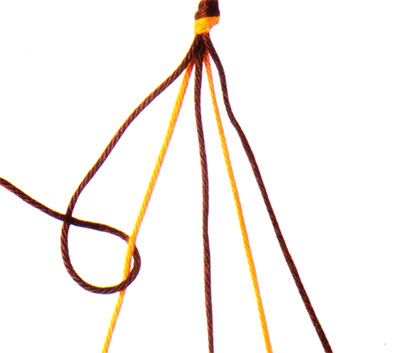 2. Start with the thread on the far left (in this project it is a brown thread). Take this thread over the orange thread on the right, back under the orange thread, through the loop and over itself. Pull gently to make a knot and repeat.
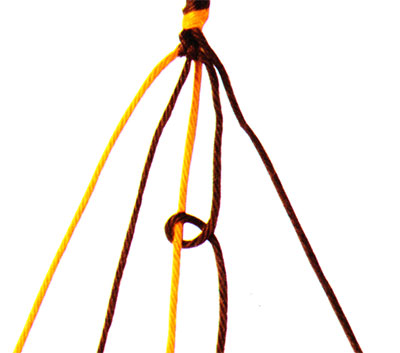 3. Continue the same knotting technique as shown in step 2, making two knots on each of the remaining threads on the right, until you get to the end of the first row. The brown thread will finish on the right.
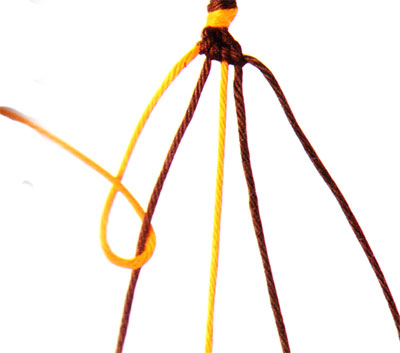 4. Take the new thread on the far left (an orange thread) and make a new row of knots as shown in steps 2 and 3.
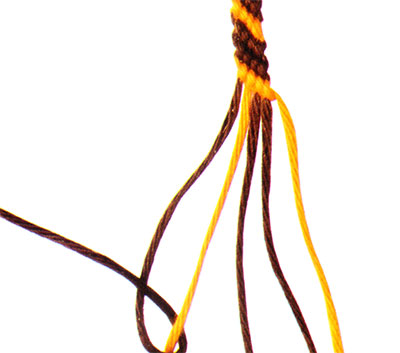 5. Continue knotting the bracelet until it is the right length to fit around your wrist or ankle. Tie the threads in a knot to secure the braid.
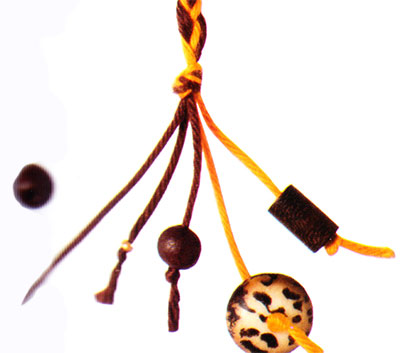 6. Plait the loose threads for 5cm (2in) and tie the end of the plait in a knot. Thread a bead on to each thread. Secure each bead with a knot.
If you have never made friendship bracelets before it may help if you use the same colour threads as used in the photographs. This will make it much easier for you to follow the steps and use the correct threads. When you have mastered a braiding technique, then you can go on to create one using your favourite colours.

Looking for Something? Search Google :