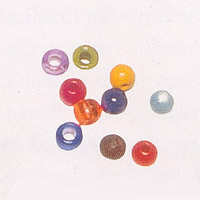
This bracelet has beads threaded into it to add extra sparkle, colour and texture. Use small or medium size beads, but make sure the hole of each bead is large enough for the thread to fit through.
It is a good idea to sort out which beads you are going to use before you start braiding the bracelet. It is hard enough keeping hold of the right threads without having to fumble around in a jar of beads at the same time.
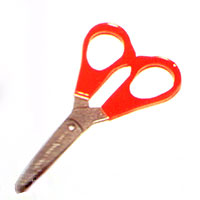 Scissors
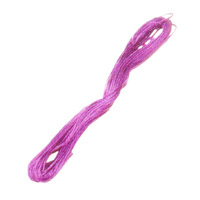 Stranded embroidery thread
 Small Glass Beads
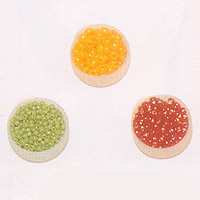
 Medium Size Beads
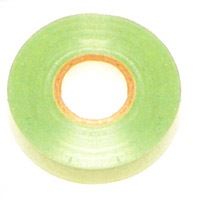 Electrical Tape
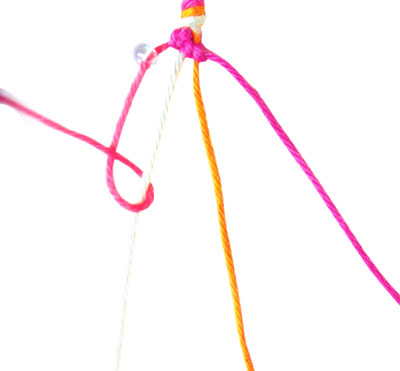
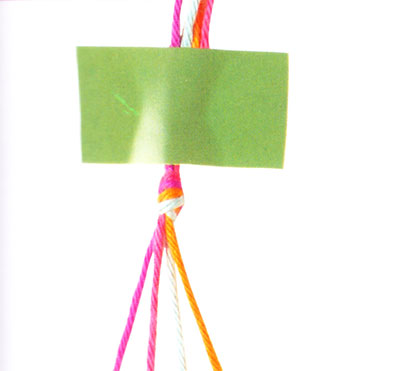 1. You will need four threads 100cm (40in) long. Tie the threads in a knot. 10cm (4in) from one end. Fasten them to the work surface with tape above the knot. Lay threads as shown.
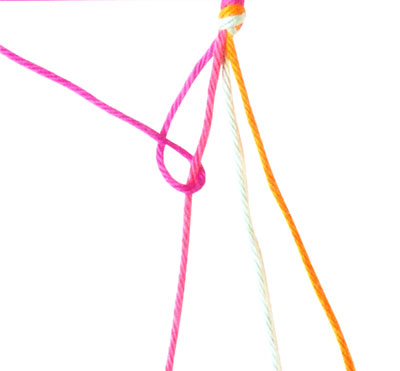 2. Take the thread on the left (a purple thread) over the pink thread next to it and back under, through the loop and over itself. Pull the thread to make a knot. Repeat to make another knot.
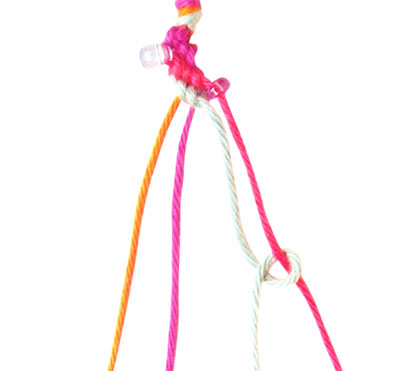
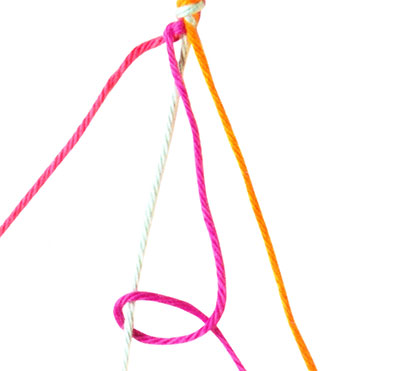 3. Make the same knots on the blue and the orange threads using the purple thread. You will now have finished the first row and the purple thread should be on the right.
 4. Go back to the new thread on the left (a pin thread) and thread a bead on to it. Knot the pink thread following steps 2 and 3.
 5. Go back to the new colour on the left (a blue thread). Knot this thread over the first two threads (orange and purple) and, before you knot it over the pink, thread a bead on to the pink thread and then knot the blue thread over it. This knot will secure the bead.
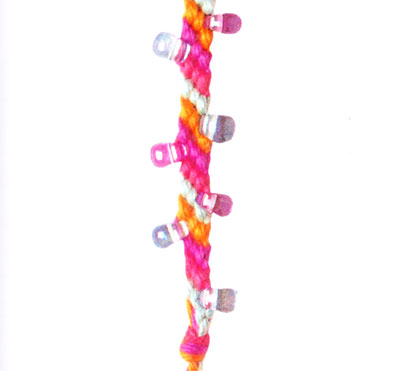 6. Continue to knot and thread on beads until the bracelet is the right length. Tie the threads in a knot.
The ends of the threads become quite ragged when threaded through beads. To prevent this, wrap a small piece of sticky tape around the ends of each thread before you start braiding.

Looking for Something? Search Google :
 Friendship Day
 Good Morning